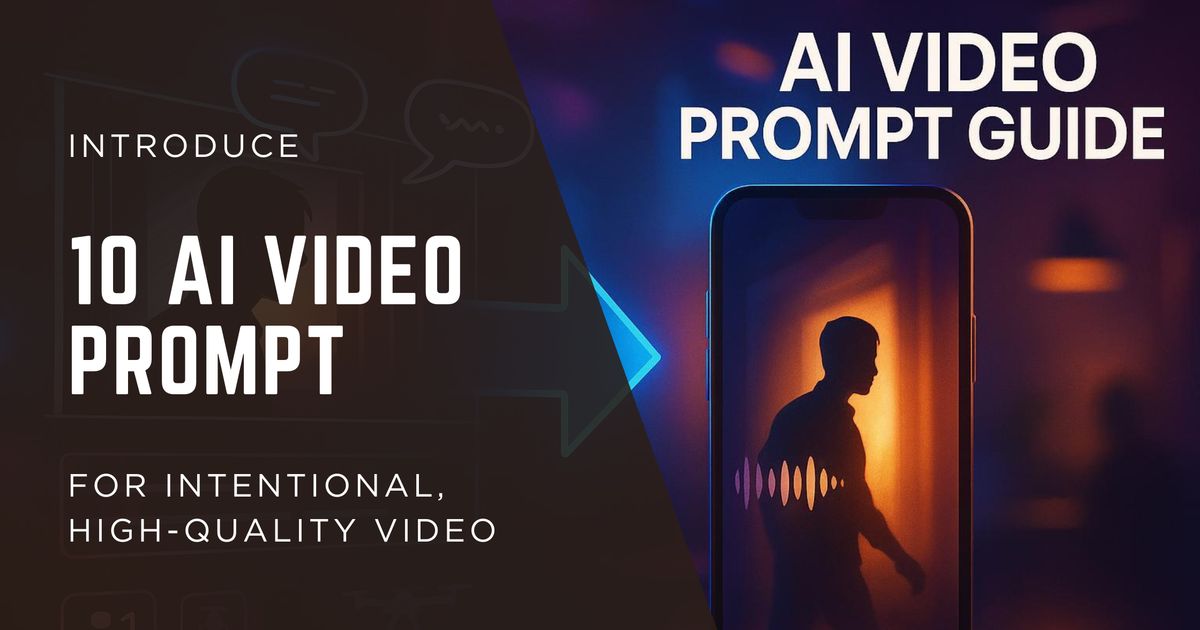
How to Get Prompt from Video
If you want to get prompt from video reliably, do not start by writing prompts from scratch. Start with one reference clip, break it into scene logic, then convert that logic into a structured prompt package. This approach works better than guessing because it preserves motion, framing, and pacing. In practice, a good video to prompt generator should output master prompt, short prompt, negative prompt, keyword tags, and shot list in one run.
Quick answer first
The fastest way to generate prompt from video is:

- Pick one short reference clip (8-30 seconds).
- Split it into 3-8 shots.
- Describe each shot with camera action, subject, and lighting.
- Merge shot notes into one master prompt.
- Add a short prompt and negative prompt.
- Save keywords for reuse in your prompt library.
This gives you controllable video generation prompts instead of random outputs.
When to use a video prompt generator
Use this workflow when you need to:

- recreate a winning ad visual style
- build repeatable YouTube Shorts hooks
- align creators and editors on one scene language
- speed up iteration in AI video tools
If your team asks for "make it feel like this reference," a prompt from video workflow is usually the clearest way to turn that request into production instructions.

The 6-step workflow in detail
Step 1: Choose a reference clip with clear intent
Pick a clip with one clear purpose: hook, product close-up, or transition. Avoid noisy clips with too many scenes.
Step 2: Break the clip into shot units
Mark shot boundaries and label each unit with:
- subject
- movement
- framing
- lighting
- mood
This is where most video prompts AI quality is decided.

Step 3: Write shot-level prompt lines
For each shot, use one sentence pattern:
Subject + Setting + Camera Action + Lens/Depth + Lighting + Mood + Timing
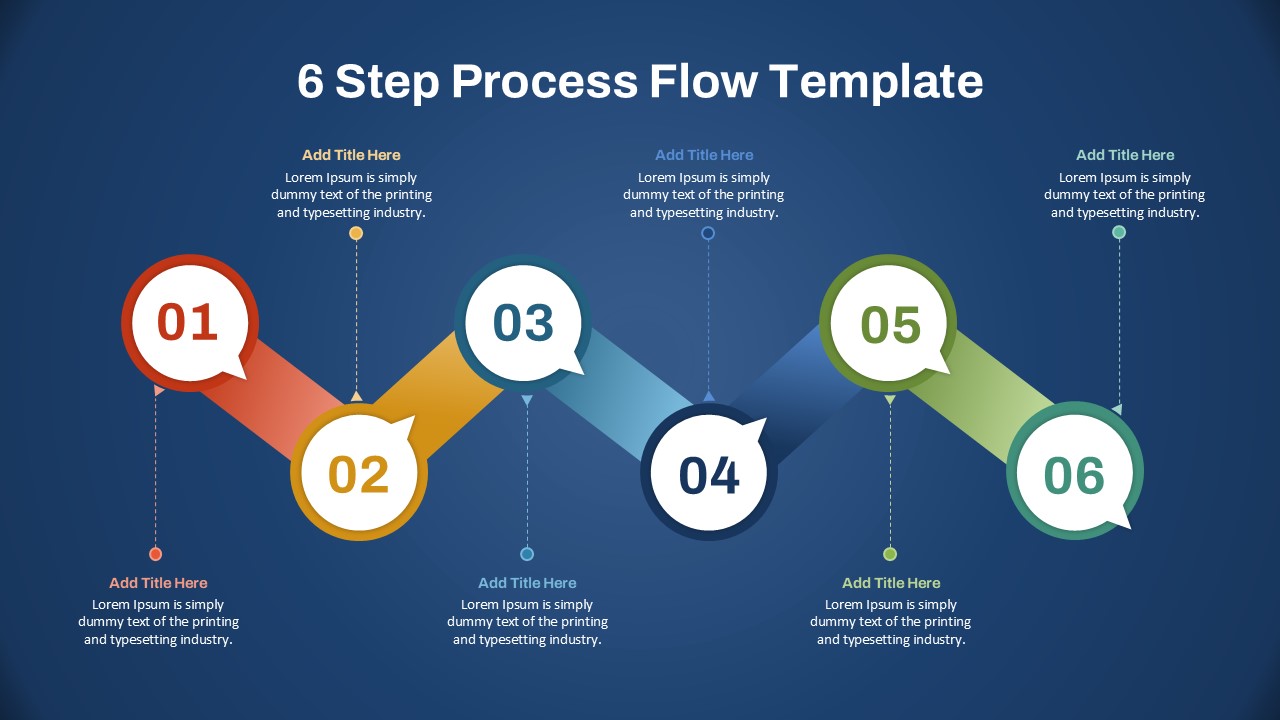
Step 4: Merge into one master prompt
Combine all shot lines into one coherent paragraph. Keep temporal order explicit, such as "starts wide, then pushes in, then ends in close-up."
Step 5: Add short and negative prompts
- short prompt: compressed version for fast iteration
- negative prompt: what to avoid (flicker, warped faces, inconsistent hands, noisy background)
Step 6: Save keyword tags for retrieval
Store 5-12 tags for each package, such as "neon alley", "handheld tracking", "slow push-in". This makes future reuse much faster.
Tool comparison: manual vs structured workflow
| Approach | Speed | Consistency | Team Reuse |
|---|---|---|---|
| Manual prompt writing | Medium | Low | Low |
| Structured video-to-prompt workflow | High | High | High |
The goal is not to write longer prompts. The goal is to produce reusable prompts with predictable results.

Common mistakes
- describing objects but not camera motion
- mixing conflicting style directions in one line
- skipping negative prompts
- using too many vague tags ("cool", "cinematic", "beautiful")
- no internal naming standard for prompt packages
FAQ
Is this different from text to video AI prompting?
Yes. Text-to-video starts from imagination. Get prompt from video starts from reference footage and is usually better for style reproduction.

Can one prompt package work across Runway, Kling, and Sora?
Yes, but adjust length and wording for each tool. Keep one shared master prompt as the source of truth.

What is the best input length for extraction?
For most workflows, 8-30 seconds is enough to capture style and shot logic without adding unnecessary noise.
Next steps
If you want to operationalize this workflow:
- Start from the Video to Prompt home page and run one reference clip.
- Read Video-to-Prompt System Design for packaging standards.
- Use Shot-Language Framework to improve controllability.
- Apply Quality Checklist before publishing outputs.